User Guide
How to access the prototype platform
Important
To connect via ssh to the BETIF-DIFAET machine, you need to stay within the INFN Bologna network (either physically or through a VPN connection).
Contact the BETIF-DIFAET administrators to obtain the cluster machine IP address.
In order to access the Jupyterhub instance now, an user would need to connect via ssh to the BETIF-DIFAET machine and bind a port through the -D flag:
$ ssh -ND 9999 <BETIF-DIFAET_machine>
and use the BETIF-DIFAET server as SOCKS proxy (the instructions on how to do this depend on the browser used):
Firefox: Settings -> Network settings -> select Manual proxy configuration and type
localhoston Host SOCKS with9999port;Safari and Chrome (on MacOS): Go to SystemPreferences -> Network -> Wi-Fi -> Click on Details next to the connected Wi-Fi -> proxy -> enable SOCKS proxy -> put the same information written above.
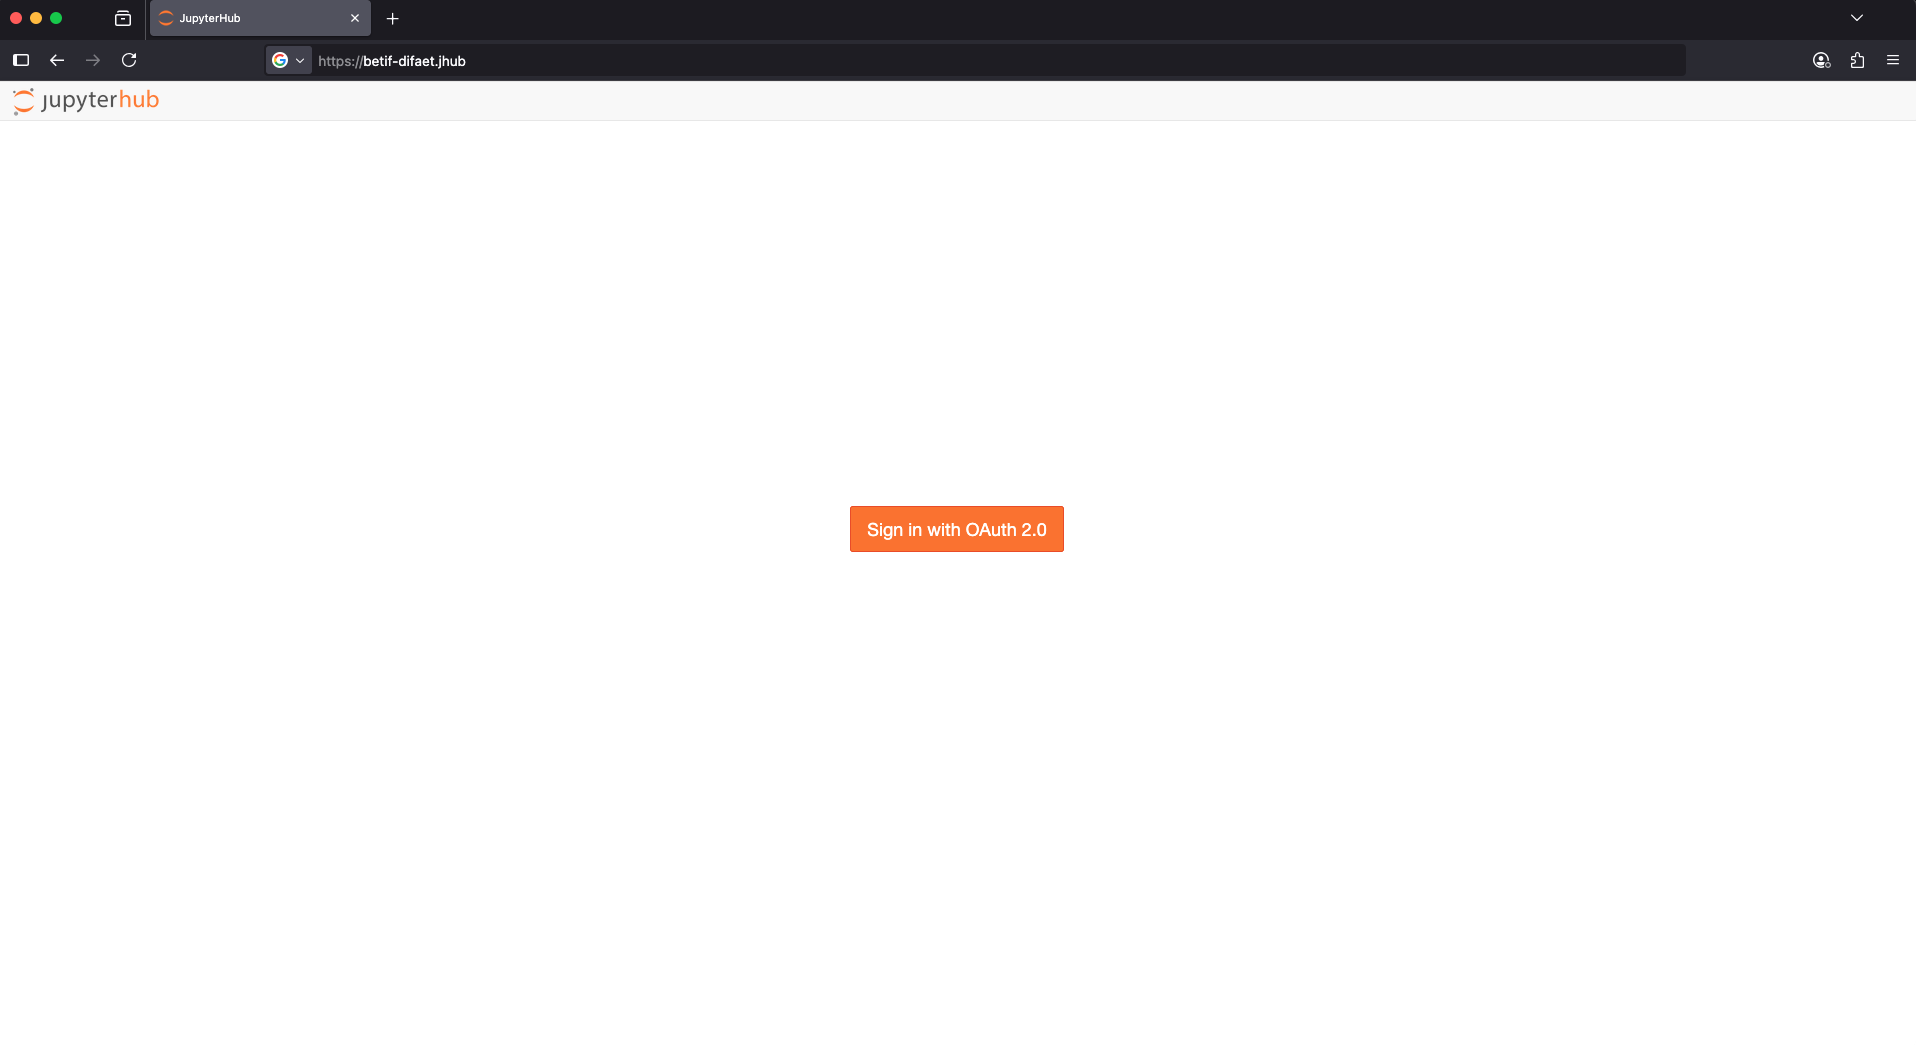
Fig. 1 https://betif-difaet.jhub landing page.
Once done, it is possible to access the dashboard connecting to https://betif-difaet.jhub entrypoint, as shown in Fig. 1.
Clicking on Sign in with OAuth2.0, will redirect to the IAM Einstein Telescope login:
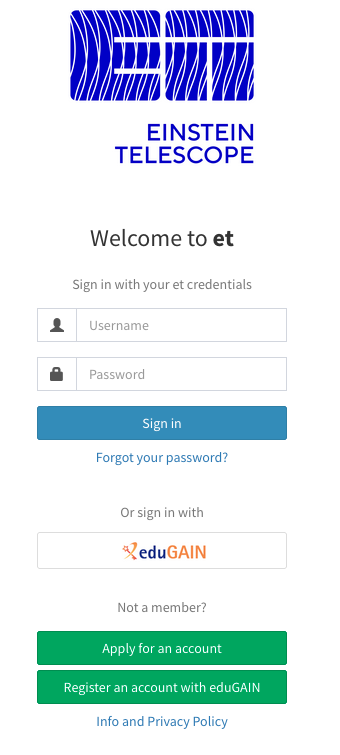
Fig. 2 Einstein Telescope IAM login.
If the user is authorized to use the platform (possible only with a specific group name assigned by an admin), it will finally redirect to the JupyterLab image selection page:
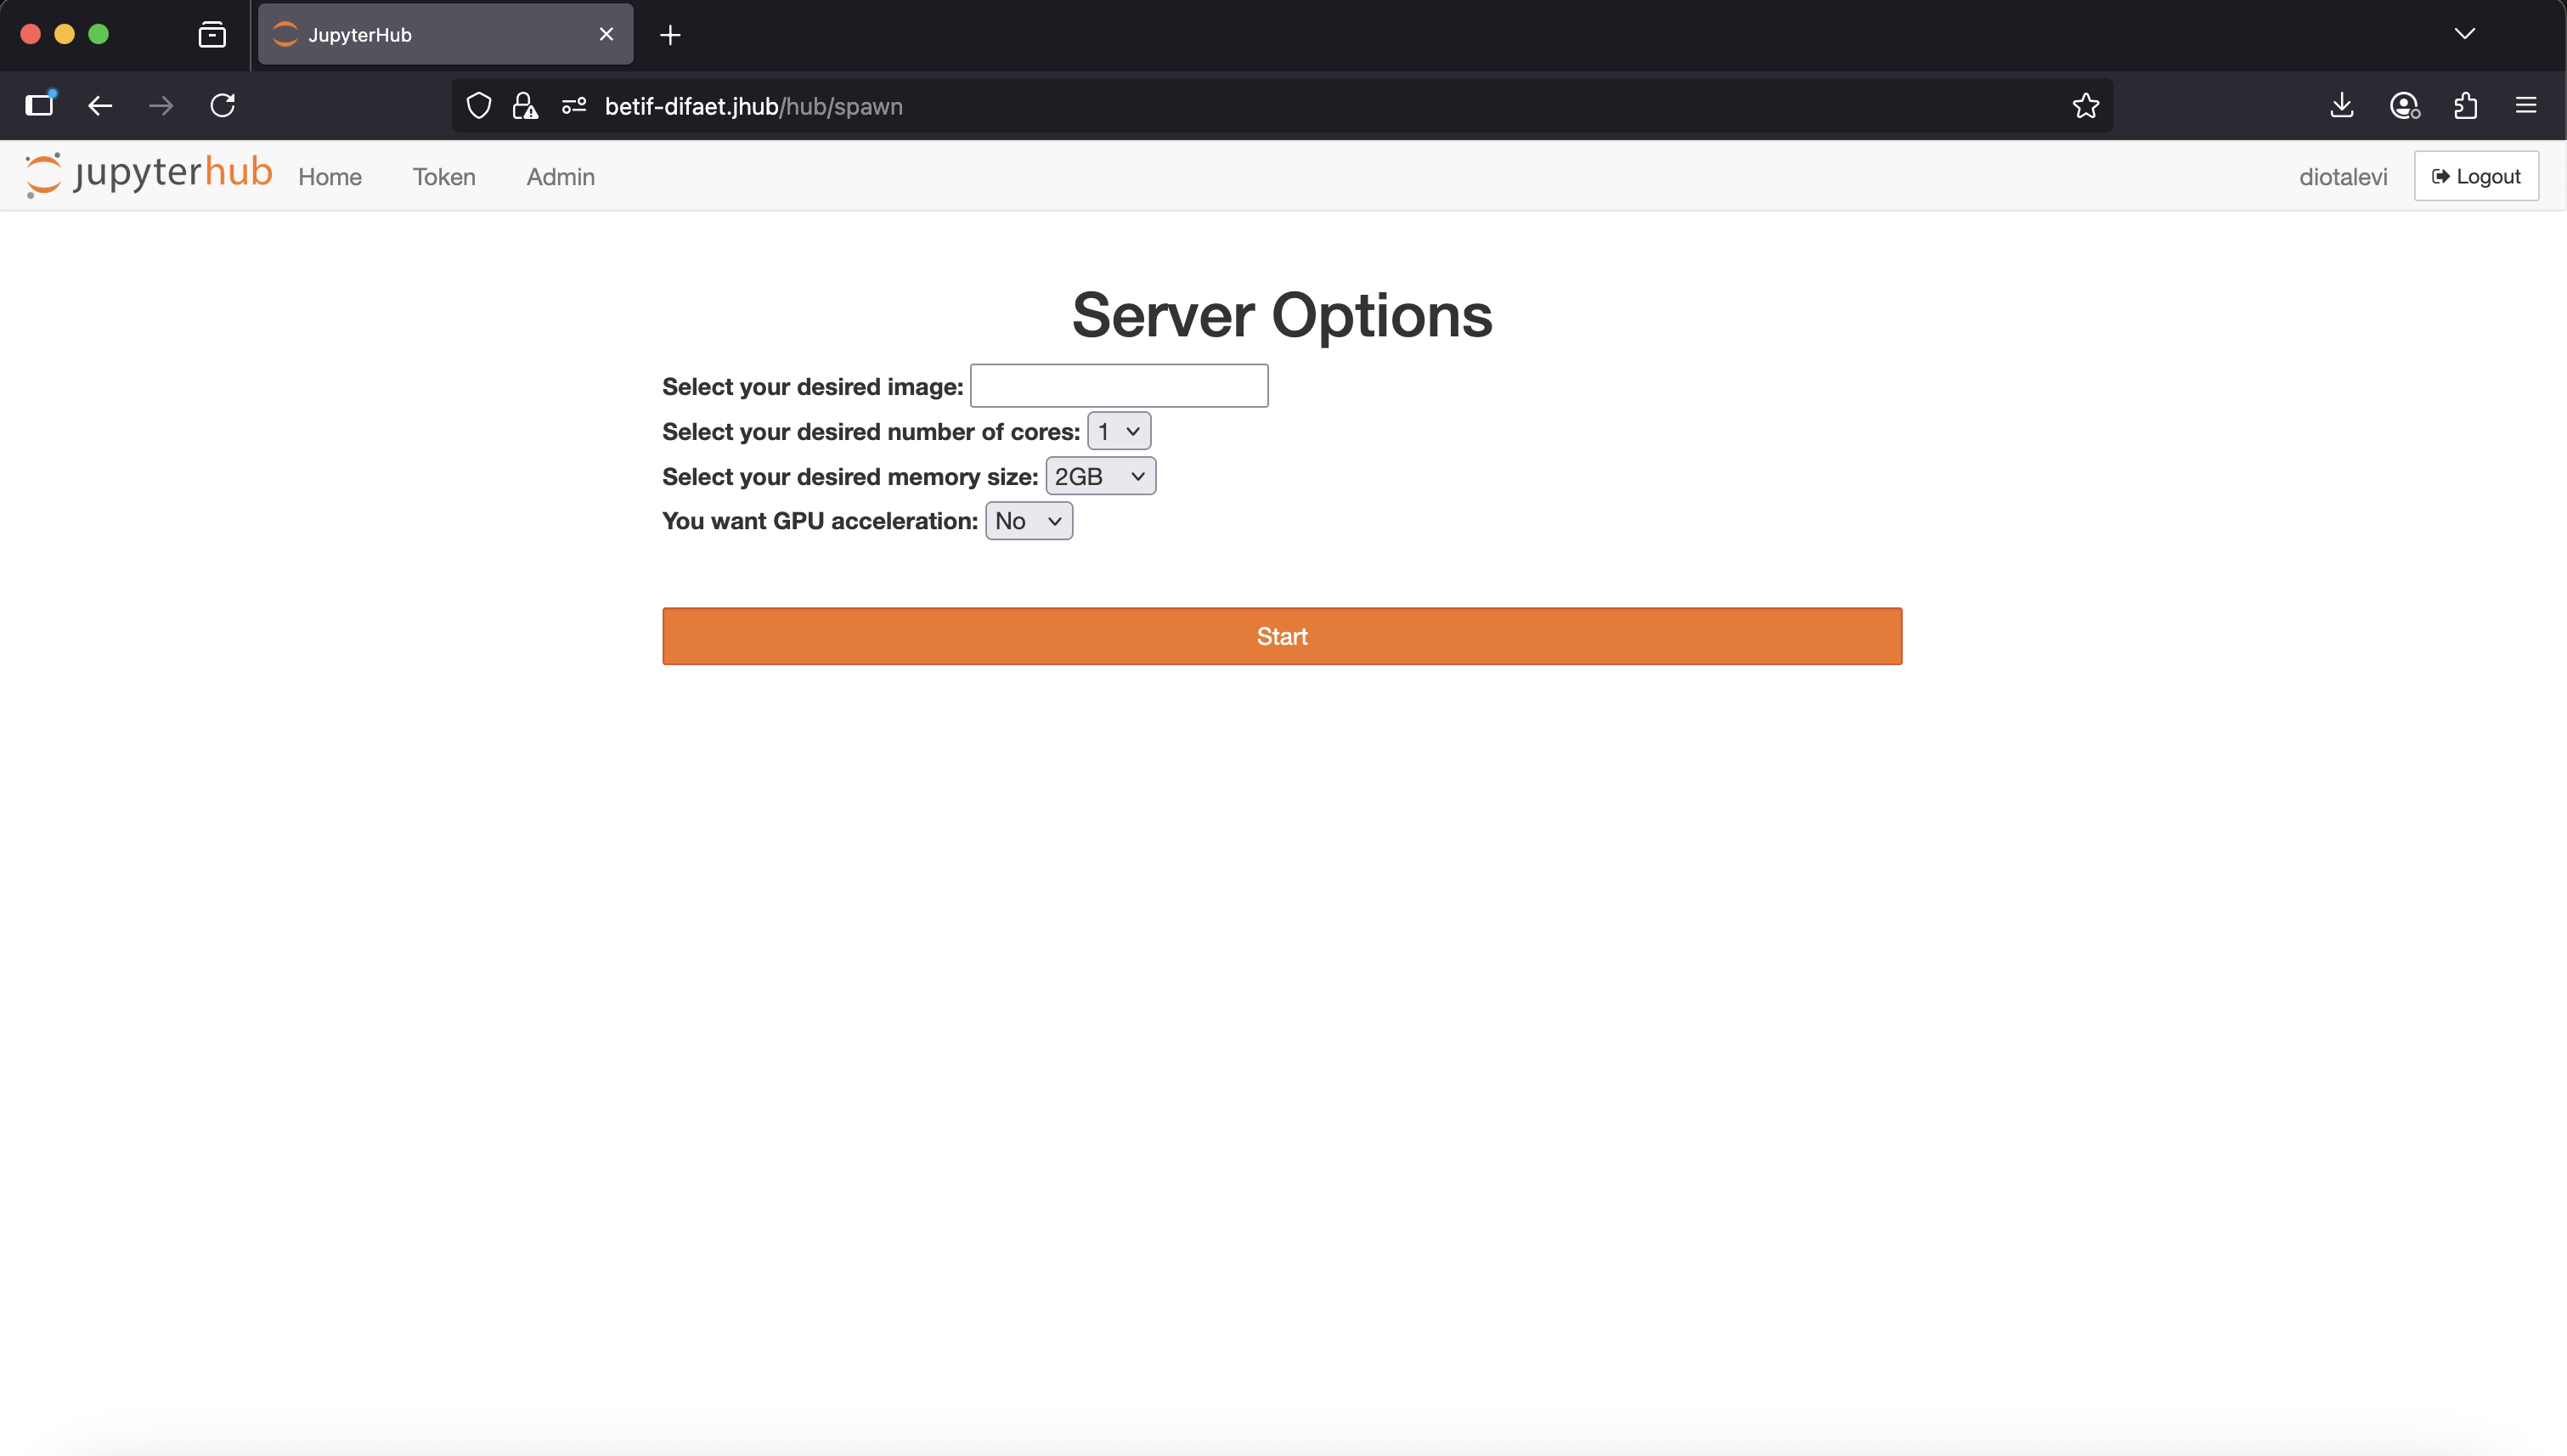
Fig. 3 JupyterLab image selection page.
JupyterLab image selection
The default base images visible on the Server Options page are:
Image name |
Image path |
Packages installed |
|---|---|---|
Almalinux9 CPU-only base image |
Python 3.11, VOMS client |
|
Almalinux9 ROOT base image |
`ghcr.io/betif-difaet/jlab:betif-alma9-cpu-with-root-v0.3.0`_ |
Python 3.11, VOMS client, ROOT 6.34 |
Almalinux9 CPU-with-GPU base image |
Python 3.11, VOMS client, NVIDIA drivers, CUDA 12.4 |
Warning
Make sure to select the image that best fits your needs.
For example, if you do not need GPU capabilities, it is better to select the CPU-only image.
On the other hand, if you need GPU capabilities, make sure to select Yes in the JupyterHub spawn form, as shown in Fig. 3, and select the CPU-with-GPU image. Otherwise, the GPU resources will not be allocated to your notebook server and/or the NVIDIA drivers will not be available.
Choose your Jupyter kernel
After selecting the desired image and clicking on the Start button, the JupyterLab environment will start.
Note
The first startup may take a few minutes, as the server needs to be created and the image pulled from the container registry.
Once the JupyterLab environment is running, you can create a new notebook by clicking on the Python 3 notebook kernels, as shown in Fig. 4.
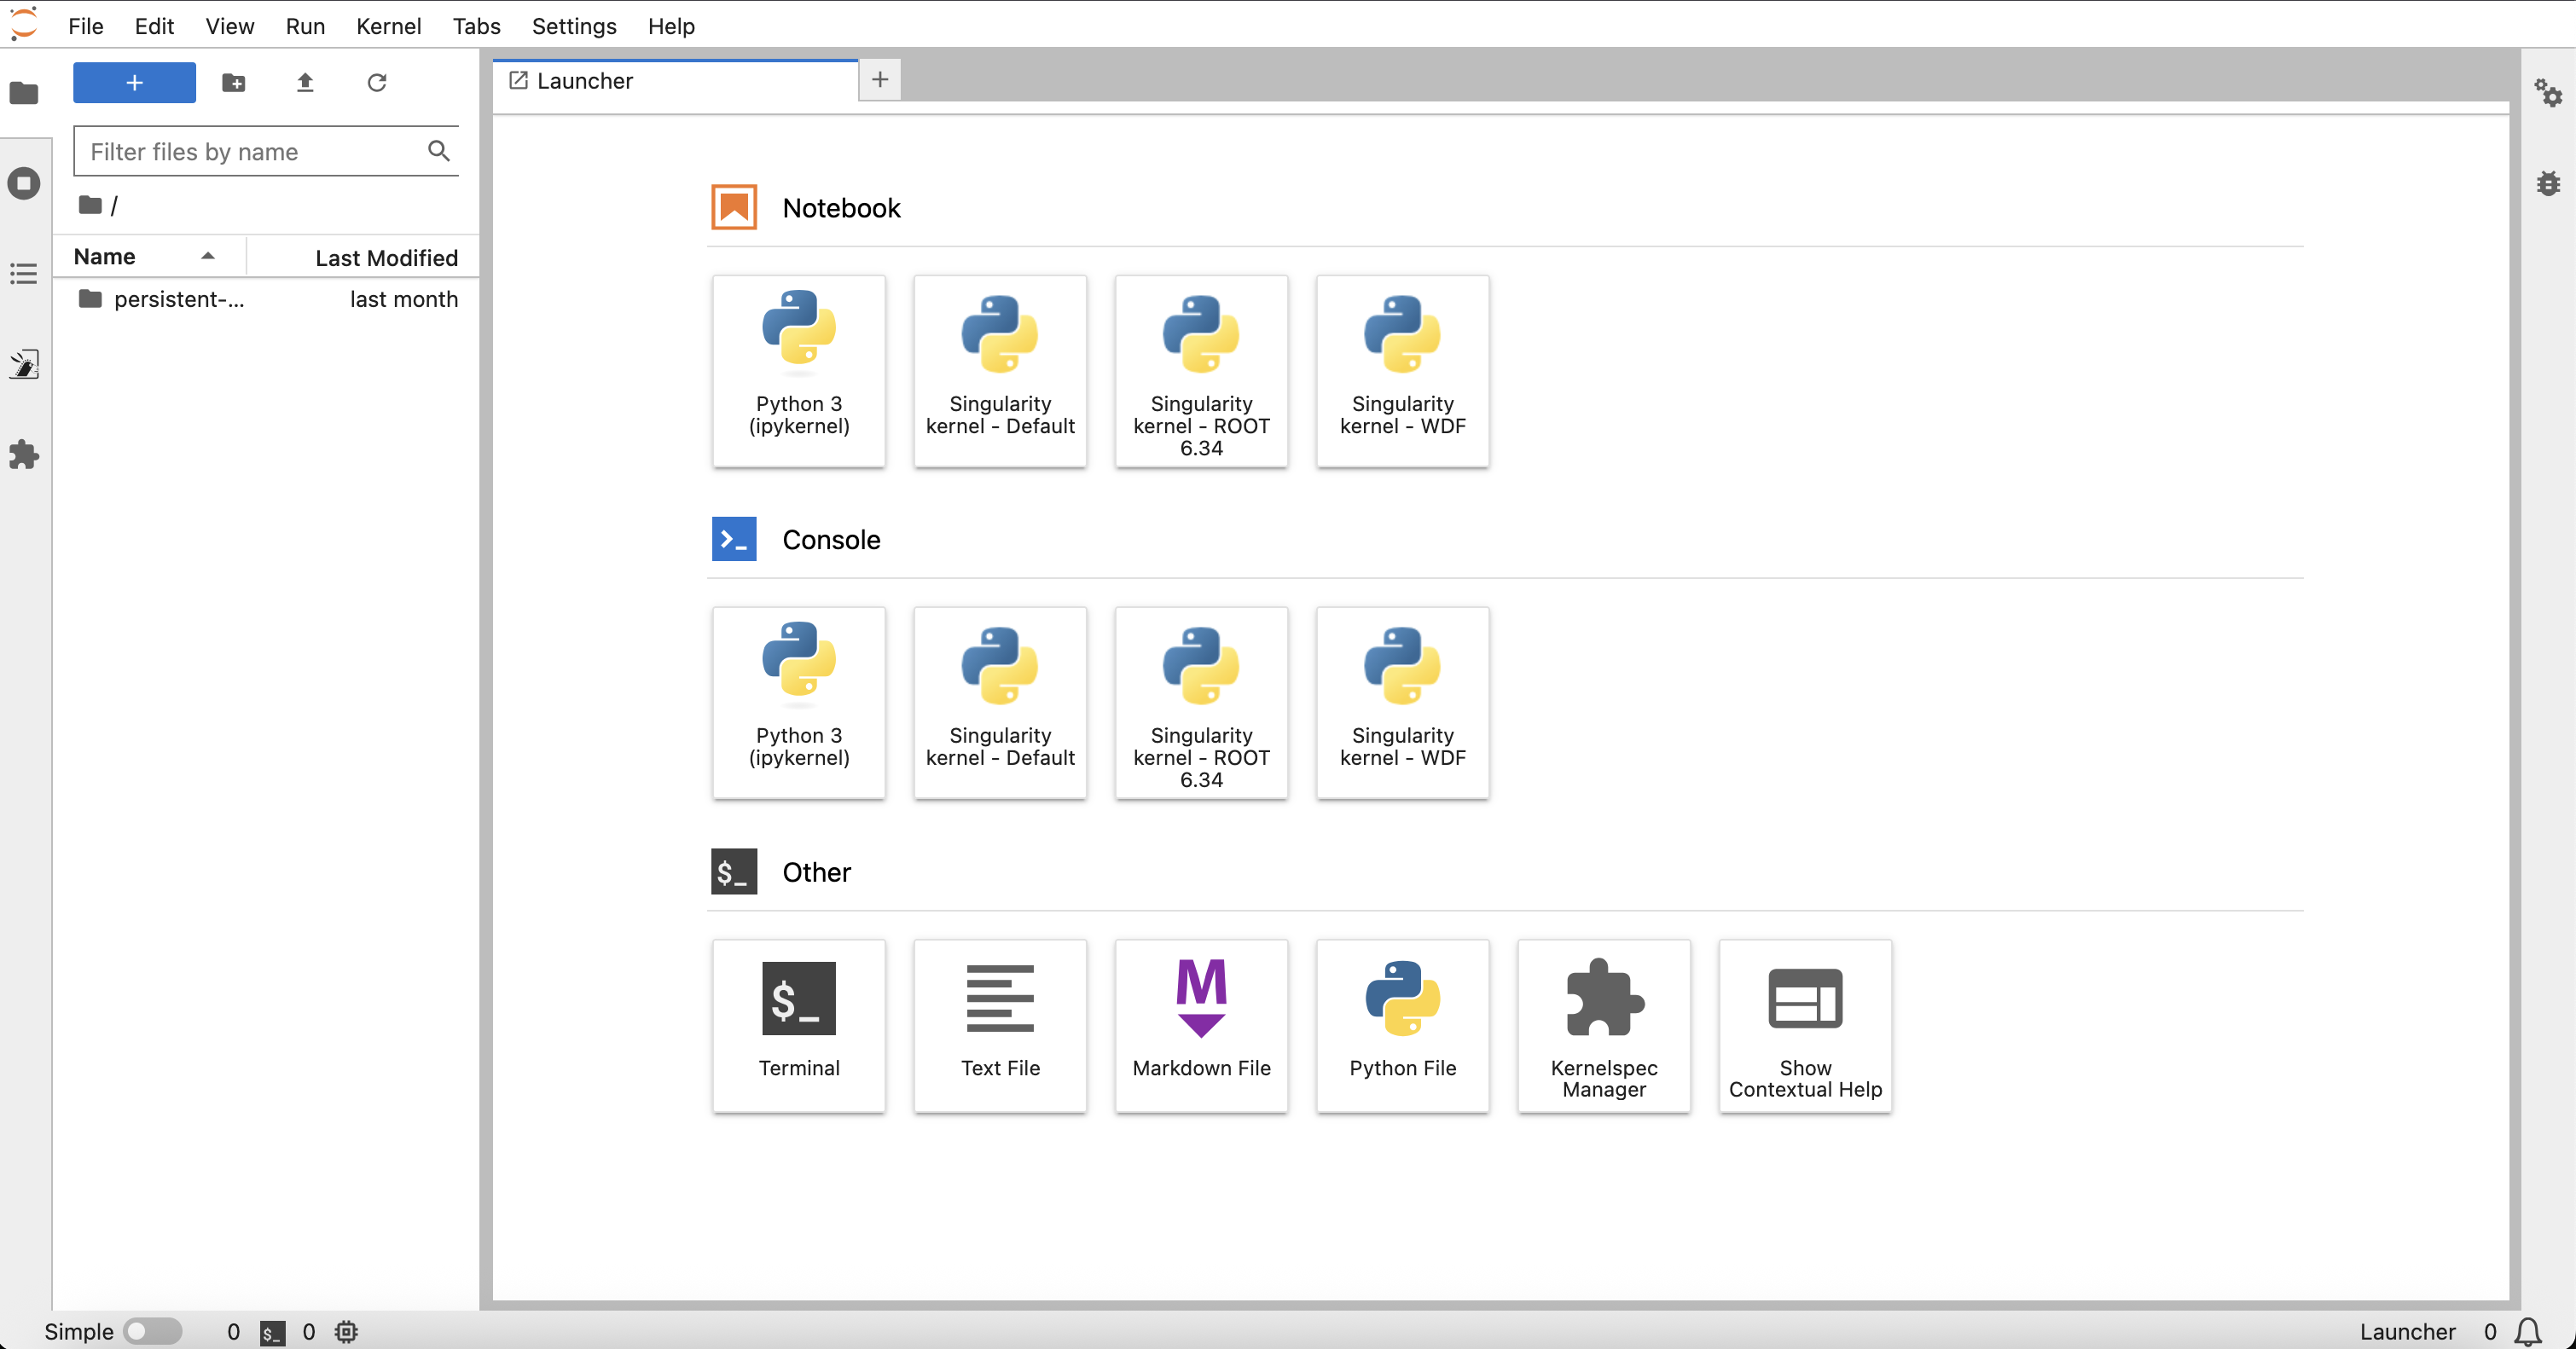
Fig. 4 JupyterLab kernel selection.
The available kernels shown in the home page are:
Kernel name |
Python version |
Additional packages |
|---|---|---|
Python 3 |
3.11.8 |
None (local base environment) |
3.11.14 |
Base image for custom Singularity containers - nothing pre-installed (see below) |
|
3.11.14 |
Base image for custom Singularity containers - ROOT 6.34 pre-installed (see below) |
|
3.11.14 |
Kernel singularity: WDF and PyTSA (from A. Ghinassi) |
The Python 3 local kernel is lightweight and does not include any additional packages (to avoid overloading the JupyterLab environment).
The Singularity kernels are designed to run custom kernels based on Singularity images. These images can be customized by the users to include specific libraries and tools required for their work. More details on how to create your own Singularity image are provided in the next section.
They are accessible via CVMFS where they can be accessed by all the users of the platform.
Create your own custom singularity kernel image
Here you will learn how to leverage your own kernel image (containing libraries, tools etc) to execute your Jupyter notebooks.
Example: add the Keras python library
First, you have to create a file named Dockerfile, with the series of instructions required to install all the required packages.
Important
The only requirement is that the custom kernel image must be based on the following base kernel image:
ghcr.io/betif-difaet/kernel-default:v1.2.0: for a clean sheet kernel;
ghcr.io/betif-difaet/kernel-root:v1.2.0: for a kernel with ROOT 6.34 pre-installed.
As an example:
FROM ghcr.io/betif-difaet/kernel-default:v1.2.0
RUN python3 -m pip install keras
To make the image visible on the platform, there are several options available:
Build the image locally and upload it to a container registry - Build the image with the command:
$ docker build -t custom-kernel .
Push it to a container registry (e.g., Docker Hub, GitHub Container Registry) that is accessible by the JupyterHub instance.
Open a terminal on the Jupyterlab instance and download the image from the container registry:
$ singularity pull docker://<YOUR_CONTAINER_REGISTRY>/custom-kernel:latest
Move the downloaded .sif image somewhere in the persistent storage (otherwise it will be lost when the server is stopped);
Click on the Kernelspec Manager icon in the JupyterLab home page:
Fig. 5 JupyterLab Kernelspec Manager icon.
In the Kernelspec Manager page, click on the Template icon circled in red in Fig. 6 to create a new kernel template:
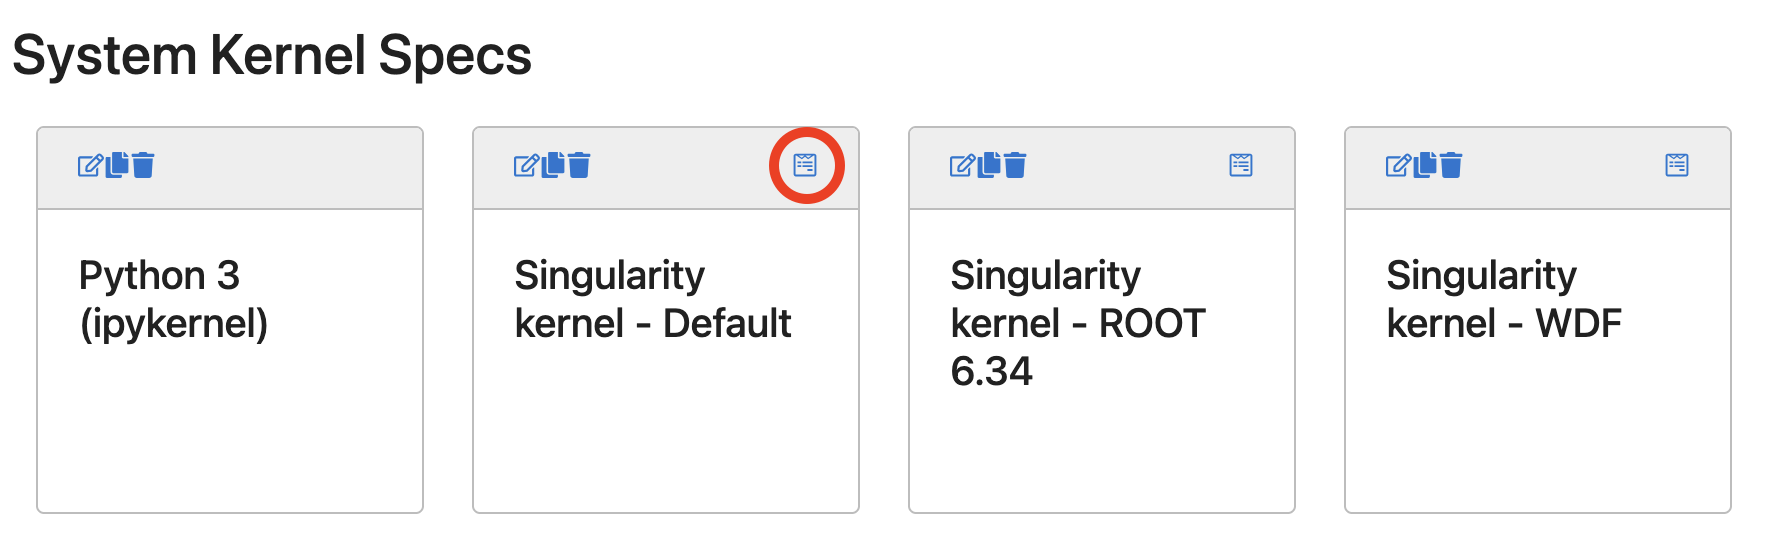
Fig. 6 Create a new Singularity kernel template.
Insert the local absolute path to the Singularity image in the window that appears, and click on Create Kernelspec. The new kernel will now be available in the JupyterLab kernel selection page.
Add the kernel in the BETIF-DIFAET custom kernel repository, to make it available to all users
Clone the BETIF-DIFAET custom kernels repository:
git clone https://github.com/BETIF-DIFAET/custom_kernels.git
Add a new folder named
<your_kernel_name>in the repository root, containing the Dockerfile created before;Create a
README.mdfile in the same folder, describing the kernel purpose and the packages installed;Do a pull request to the repository. After the merge, the new kernel image will be automatically built and published to the GitHub Container Registry;
After a few hours, the new kernel image will be available to all users in the following path:
/cvmfs/unpacked.cern.ch/ghcr.io/betif-difaet/kernel-<your_kernel_name>:latest
Load the kernel in your JupyterLab environment, following the same steps described in the previous option (Kernelspec Manager -> Create new template etc).
Make sure to use the full absolute CVMFS path to the Singularity image.
Note
We are planning to move the custom kernels to the unpacked service of INFN: /cvmfs/unpacked.infn.it (already mounted in the JupyterLab environment).
This service, however, is still a work in progress from INFN Cloud: when it will be ready, we will migrate all the custom kernels there and we will notify all users.
Available platform components usage
The platform provides several components that can be used to develop and run your JupyterLab notebooks. Here a list of the current available components and their usage:
CVMFS
CVMFS is a distributed filesystem that provides access to software and data repositories.
The filesystem is mounted in the JupyterLab environment, available at the path /cvmfs.
Among the available repositories, you can find:
grid.cern.ch: the CERN Grid software repository, containing the CA certificates and the VOMS configurations;
sft.cern.ch: the CERN Software repository, containing the LCG software stack;
unpacked.cern.ch: the CERN Unpacked repository, containing user defined container images.
Rucio lab extension
Rucio enables centralized management of large volumes of data backed by many heterogeneous storage backends. The Rucio lab extension provides a user-friendly interface to interact with Rucio, allowing users to manage datasets, files, and storage elements directly from JupyterLab.
To use the Rucio lab extension, you need to have a valid Rucio account and the necessary permissions to access the data.
Important
For the authentication, you can use VOMS proxies. To create a proxy, you can use the following command:
$ voms-proxy-init --voms <VO_NAME> -old --key .globus/userkey.pem --cert .globus/usercert.pem
Replace <VO_NAME> with the name of your Virtual Organization (e.g., escape). The .globus/userkey.pem and
.globus/usercert.pem files are the private key and certificate files, respectively, that you can obtain from your GRID
credentials.
To use the Rucio lab extension, follow these steps:
Open the Rucio lab extension: Click on the Rucio icon in the JupyterLab sidebar;
2. Authenticate: Go to the Settings icon, as shown in Fig. 7. Under Proxy file path, enter the path
to your VOMS proxy file (normally in /tmp/x509up_u0). Under account enter your Rucio account name. Click on Save Settings
to confirm.
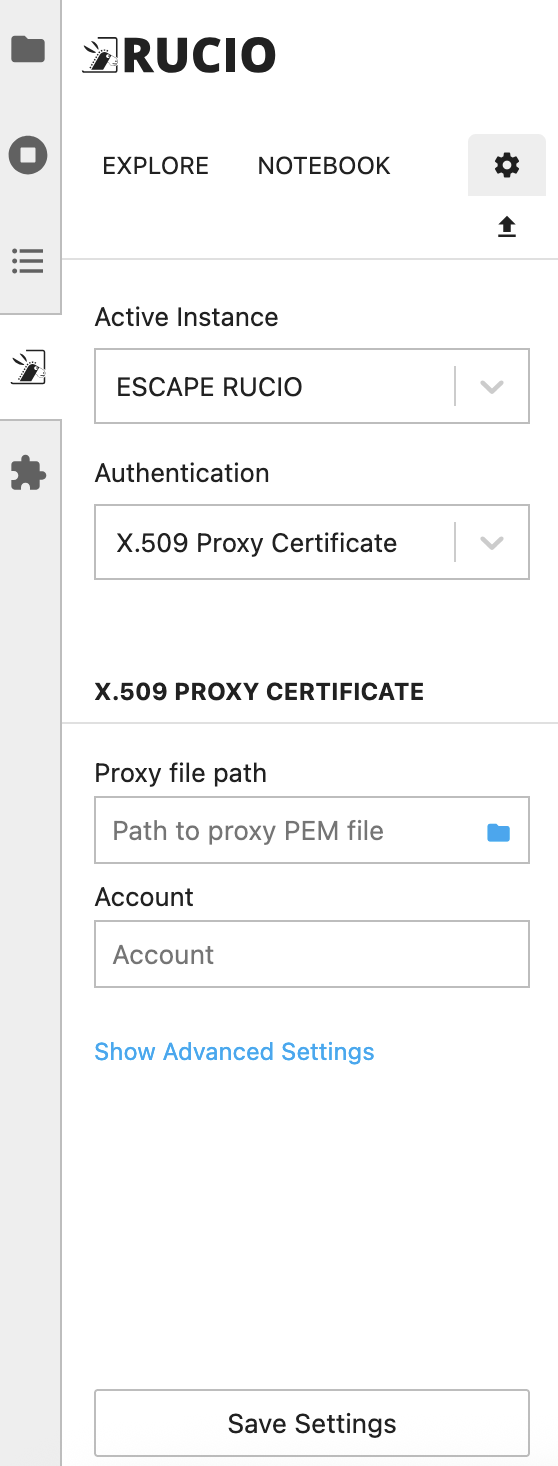
Fig. 7 Rucio lab extension settings.
Browse datasets: Use the Rucio lab extension to browse datasets, containers, and files. You can also include datasets in your JupyterLab notebooks by clicking on the dataset and selecting the option to include it in your notebook.
Note
While not strictly necessary, Rucio is also available as a command line interface (CLI) tool. This is independent of the lab extension
and can be used to interact with Rucio from the terminal. To use the CLI, you need to create a configuration file named rucio.cfg, with
the following content:
[client]
rucio_host = https://vre-rucio.cern.ch
auth_host = https://vre-rucio-auth.cern.ch
ca_cert = /cvmfs/grid.cern.ch/etc/grid-security/certificates/
account = <YOUR_RUCIO_ACCOUNT>
auth_type = x509_proxy
client_x509_proxy = /tmp/x509up_u0
Replace <YOUR_RUCIO_ACCOUNT> with your Rucio account name. The rucio_host and auth_host URLs are different for each Virtual Organization,
so make sure to check the Rucio documentation for your specific VO (in the example above, the escape VO is used).
Finally, create the environment variable $RUCIO_CONFIG pointing to the configuration file:
$ export RUCIO_CONFIG=/path/to/rucio.cfg
Now, typing rucio whoami in the terminal will show your Rucio account information, confirming that the CLI is correctly configured.